

If you’re developing WordPress sites with the Genesis Framework, chances are you’ve used or come across the Featured Custom Post Type Widget. This handy plugin extends the Genesis Featured Post Widget, making it work seamlessly with custom post types and custom taxonomies.
Recently, I needed to customize this widget to add additional functionality for a client project. This guide serves as a note to self and a useful reference for other developers who may need to tweak the plugin in future projects.
What Changes Did I Want to Implement?
- Add a Subtitle: I wanted a subtitle field within the widget.
- Add a Link: I needed a link just above the featured blog post grid, prompting users to browse all articles.
If you’re not familiar with plugin customization, proceed cautiously. However, for those with some experience, here’s how I went about making these changes.
Four Key Steps to Customize the Widget
To add the subtitle and link functionality, I followed four straightforward steps:
- Define the Form Fields: Add fields to the widget’s backend for the subtitle and link, allowing the user to input values.
- Save the User Inputs: Ensure that the values entered (subtitle or link) are stored when the widget is saved.
- Display the Values on the Front-End: Make sure the user’s inputs are reflected on the front-end of the site, appearing in the correct format.
- Enter the Subtitle or Link in the Widget: Lastly, enter the values (like the destination URL) into the widget fields and save.
Finding the Right Place in the Code
The plugin has two folders and two primary files. To begin, navigate to the includes folder and open the file called class-featured-custom-post-type-widget-registrations.php. This file contains roughly 600-700 lines of code, so to make things easier, look for the following comments within the code:
"Echo the settings update form.""Update a particular instance.""Echo the widget content."
Once you locate these sections, you’ll be able to add the necessary PHP code to introduce your desired functionalities.
Code Snippets for Customization
Adding a Subtitle
Here’s the PHP code you’ll need to add a subtitle to the widget:
https://gist.github.com/topleague/61e2ff52146354e8cdbff1e7b76d09ce
Adding a Link
To add a “Browse All Articles” link with a custom class below the subtitle:
https://gist.github.com/topleague/0ae4e488ce03e01ab58d4bab1f9a3fcc
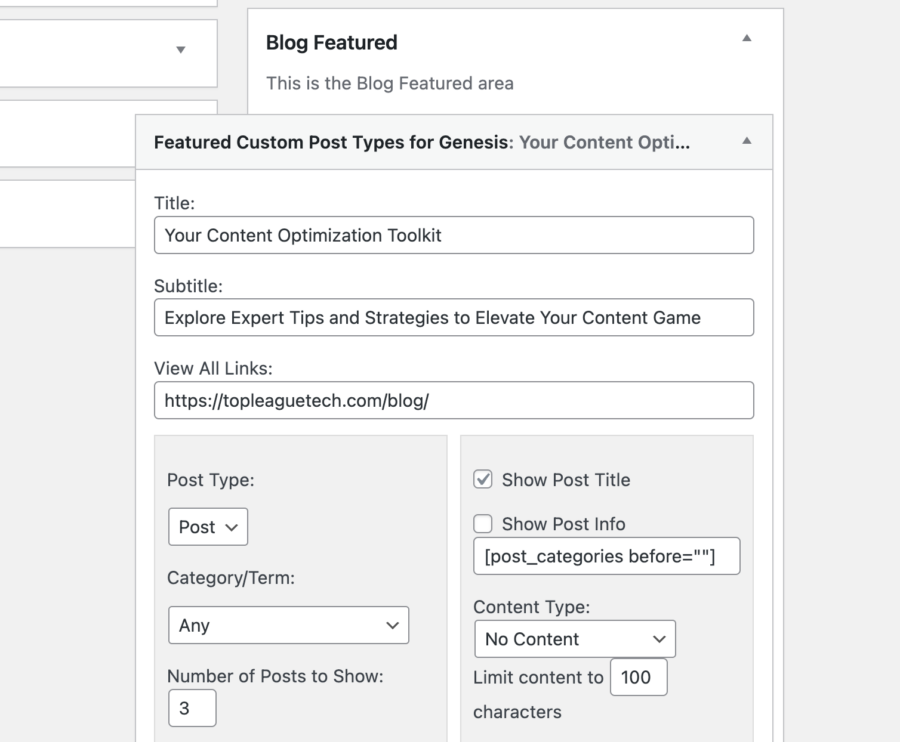
Customizing the Genesis Featured Custom Post Type Widget: Widget Settings View
This screenshot shows the updated widget settings panel after adding the subtitle and link fields. You can now easily input a custom subtitle and a ‘Browse All Articles’ link for your featured post grid.
Final Thoughts
With these customizations, you can extend the functionality of the Featured Custom Post Type Widget to suit a wide range of use cases. By adding simple but effective fields like a subtitle or a call-to-action link, you improve the usability and design flexibility of your Genesis-powered site.